ARMAMENT
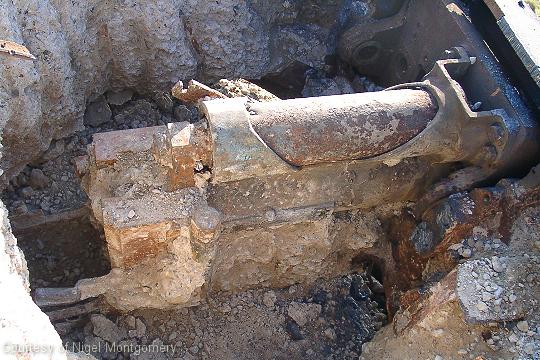 |
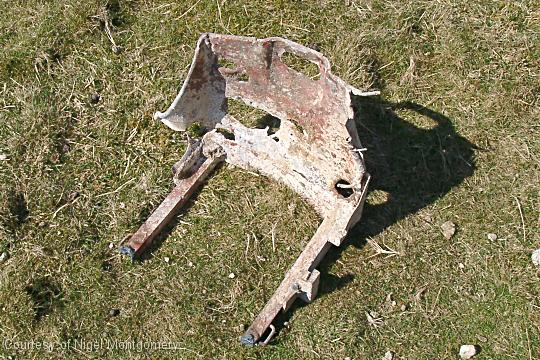
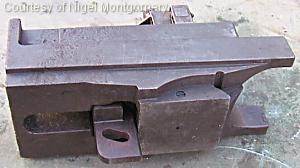
The gun cradle was recovered from a MkVII used as a hard target on Feldom Range (see Register). This vehicle had been filled with concrete which no-doubt helped to preserve the gun mount but made its recovery much hard work!. |
 |
Dave Arnold supervising the recovery of the gun mount. Note the thickness of the mantlet plate, this is the later style introduced with the MkVII and seated into the front armour face of the turret. The MkIII had a thinner mantlet which sat behind the frontal armour. |
 |
|
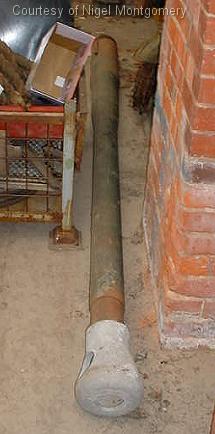 |
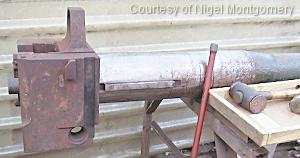
75mm gun barrel with muzzle brake. |
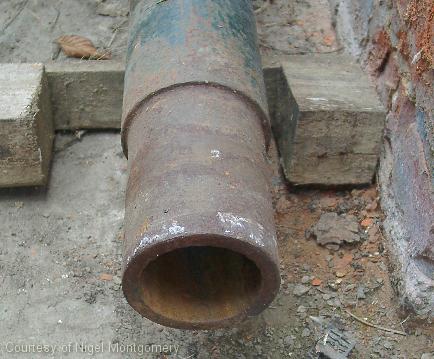 |
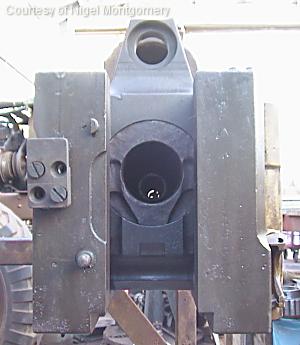
Muzzle end of the 75mm barrel |
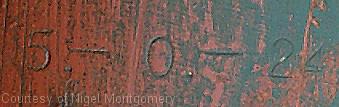 |
Markings stamped into the barrel (breech end). These indicate the 'angle' of drop'. |
|
|
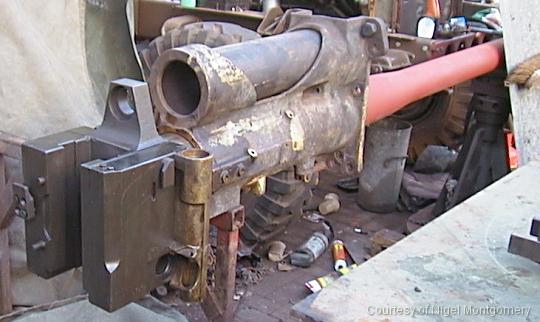
Breech end of the 75mm barrel, threaded to take the breech ring (11 turns) . Note the 'ribs' on either side which locate the gun in the cradle. The end on view shows the recesses for the cartridge extractor levers. |
 |
The breech ring is screwed to the barrel and secured by a hexagonal headed, tapered end screw. The lug at the top of the breech ring is where the recoil piston will be attached. |
 |
|
|
|
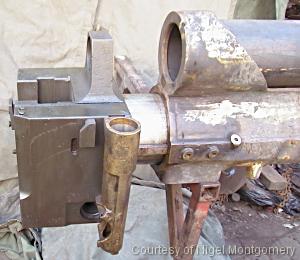
The cradle is now in position and the cylindrical spring lock case has been fitted to the breech ring. |
|
|
Barrel, cradle and breech ring assembled together. |
 |
Breech block: The breech block moves up and down in the breech ring. The guides are slightly inclined giving a slight forward motion when the block is raised. The breech is held open by the extractor levers which are forced forwards. The levers are released on loading by the rim of the cartridge case. The breech then closes under the action of a piral spring, placed in compression by the action of opening the breech. Photo shows barrel side of the breech block firing hole bush reversed in top photo? |
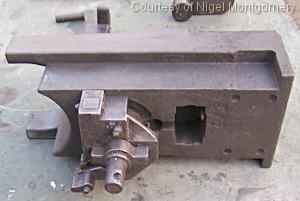 |
Photo shows the striker case attached to the breech block. |
|
|
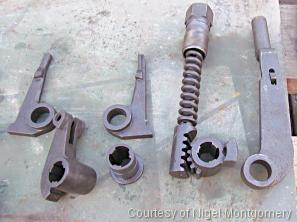
Cartridge extractors, crank , spring, rack and pinion, breech lever |